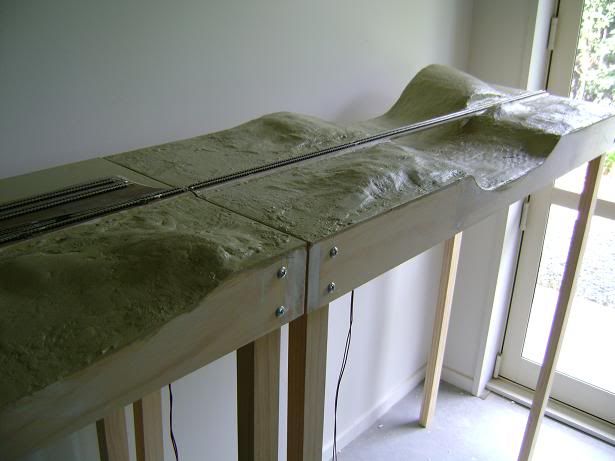
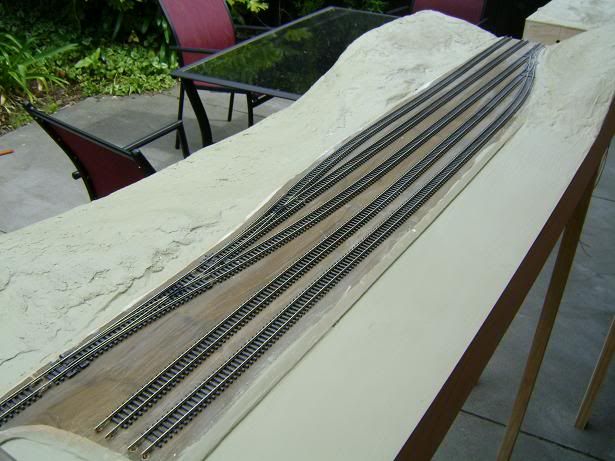
This was also an opportune time to test the track again, and make some adjustments, so I got to have a little play with a locomotive. the modules were still running fine!
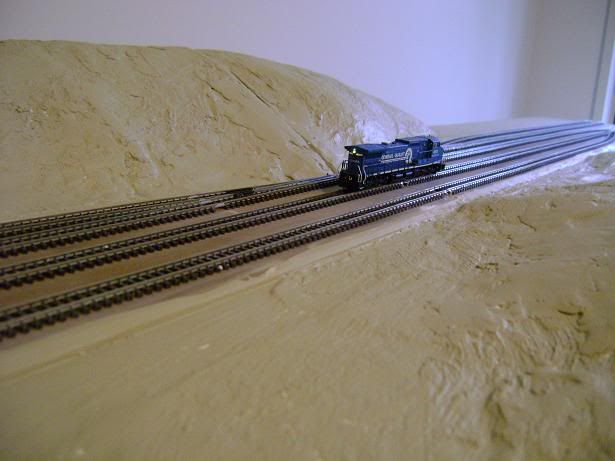
With my trusty airbrush, I next painted all of the trackwork a dark brown colour. Some layout I've seen go for rust coloured rails, but though this might be suitable for some areas, in general the rails around here appear a dull dark brown colour. (I've looked!) I didn't bother to mask the points at all, as it did not seem necessary.
Once this was dry, I decided to make the rock cutting for the river module. After masking the track to keep it clean, I mixed up some light weight hydrocal in a bowl, and applied this liberally to both sides of the cutting. Previously I have tried using Woodland Scenics Foam Putty for making rock faces, but I think that hydrocal does the job just as well. It's also a little more robust than the foam putty, which tends to soften when you paint it.
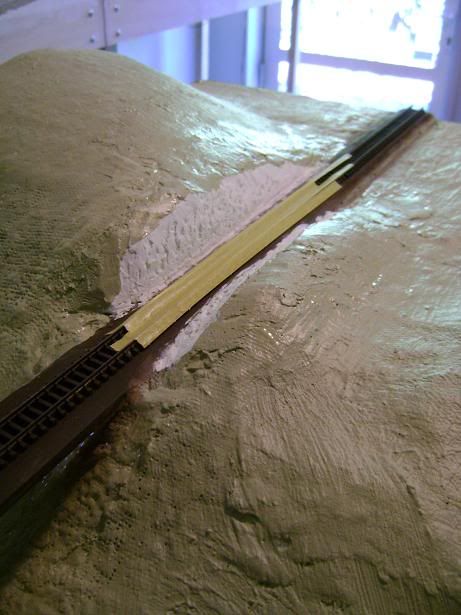
Leaving this to dry for a couple of days, I took to it with a craft knife to carve out the rock surface. I still need a lot of practice at this, but I'm fairly happy with the result. I'm sure I'll get more practice at this on the next modules I have planned.
Next, this was painted with some very diluted water based paints. I used a light brown, ochre, and finally a black stain in patches to give it a varied and natural look.
By this stage it was time to start thinking about grass and ground cover for the modules. Previously I had just used Woodland Scenic scatter of various shades, but this time I was keen to try out static grass, as I had recently seen a method of building an applicator on YouTube involving an electric fly swat. However, I decided to give the modules a base of scatter, and to apply the static grass over this to allow for a little variation in the appearance of the grass. So using three shades of Woodland Scenic ground foam, and plenty of PVA, I began to apply the grass, starting on the river module, leaving me with this:
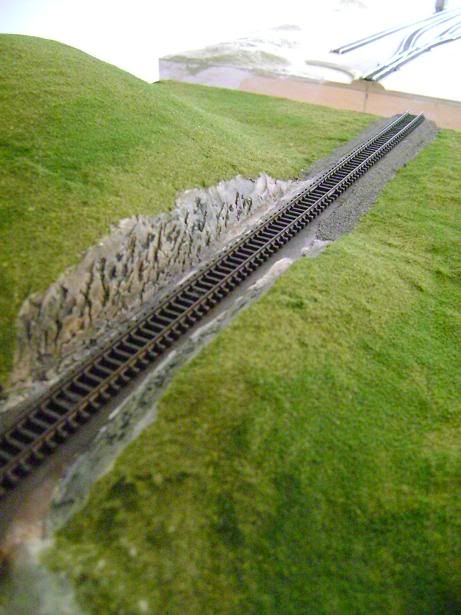
It's amazing how the layout begins to spring to life when you get to this stage! Exciting!
Next time: building the bridge.
The layouts looking good. keep up the good work.
ReplyDelete