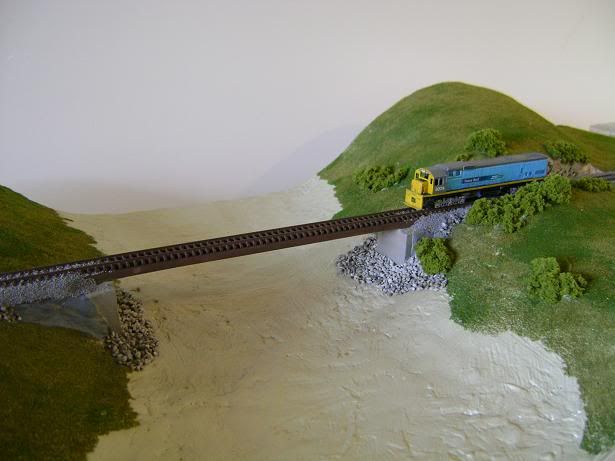
I was going to build the bridge out of dowel and strip wood, so there was another trip to the local hobby shop, who were getting to know me pretty well at this point. First up, I used some blocks of wood to make some concrete abutments for the ends of the span to sit on. This was then painted a vaguely concrete colour and weathered.
I then cut some rectangular strip wood into the parts of the bridge that would attach the pilings to the bridge span. (Obviously I know next to nothing about bridges, these bits probably have proper names!) Having glued these in place, I cut the dowel to the appropriate lengths, and more super glue was used to fix these to the structure, leaving me with the following:
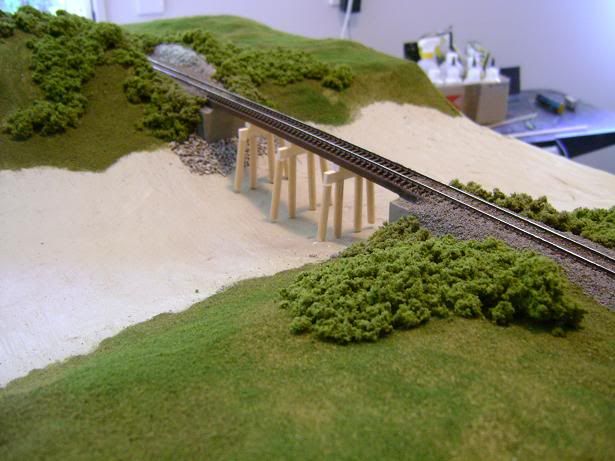
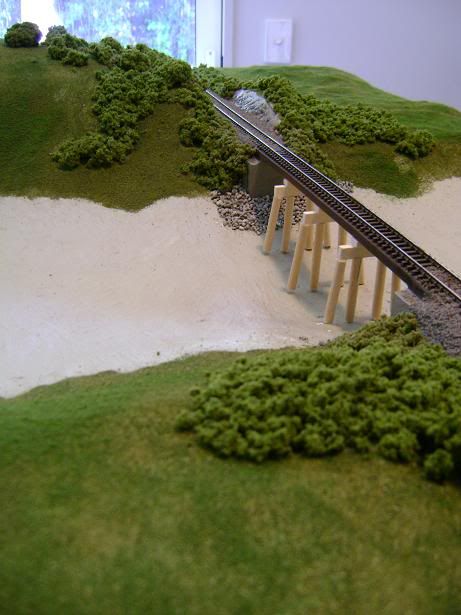
Realistically, I think the dowel I used could have been a size thinner to give the bridge a more scale appearance.
I then cut up some sections of rail from the Peco track I had left over, and used these as diagonal braces for the bridge piers, which were also glued in place. Next, the whole thing was airbrushed a dark brown, which was probably the wrong colour on reflection; I think a sort of silvery brown/grey would have been more representative of aged wood. Let's just pretend that someone decided to paint this particular bridge!
As this stage the river bed was also painted a greenish grey. Once this was dry, I applied a liberal amount of PVA to the river banks, and sprinkled over this some course grade Woodland Scenics grey talus, which I think gives a nice impression of the rocks that can be seen in any number of South Island rivers. Around this I sprinkled pretty much an entire packet of finer grade talus, and then soaked this with scenic cement to fix it all in place. This was then left to dry, which took about a day.
Being a nice sunny Boxing Day when I was building this (accompanied by one or two festive beers) I took the whole module outside for some pictures.
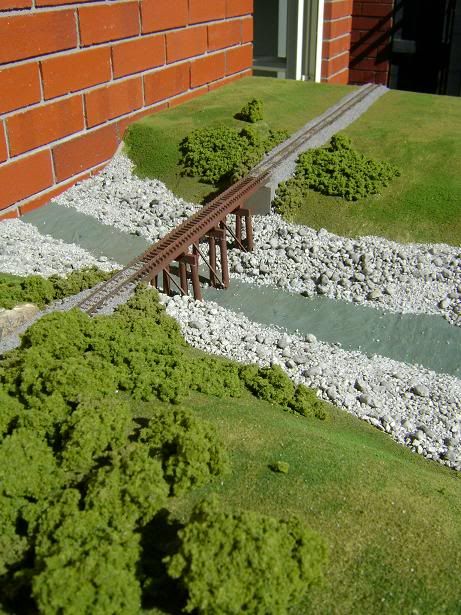
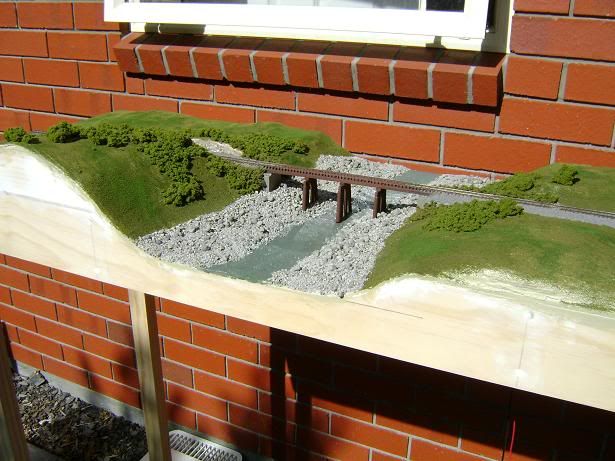
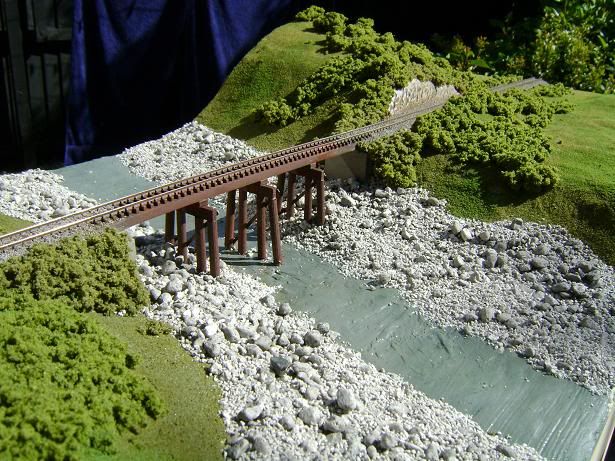
I'm pretty happy with what I achieved with the bridge. All that remained at this point was to pour the water and add in some shrubbery and detail to the river bed, which I will cover in a future post.
Next time: experimenting with grass.