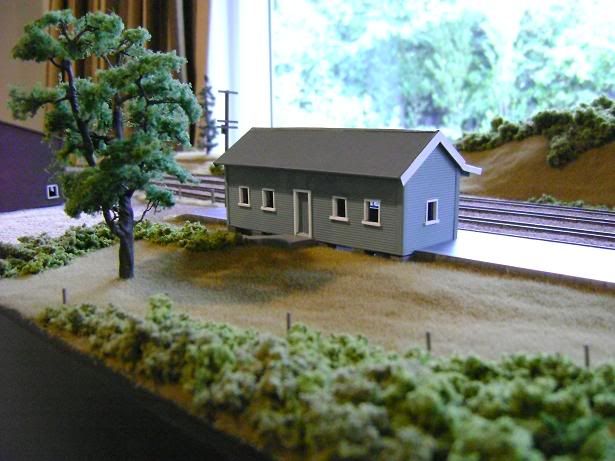
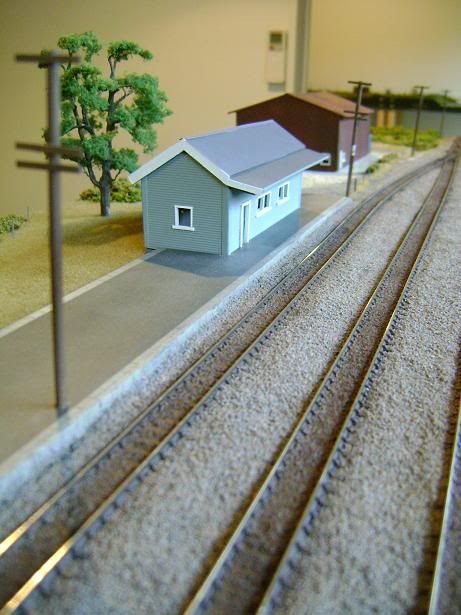
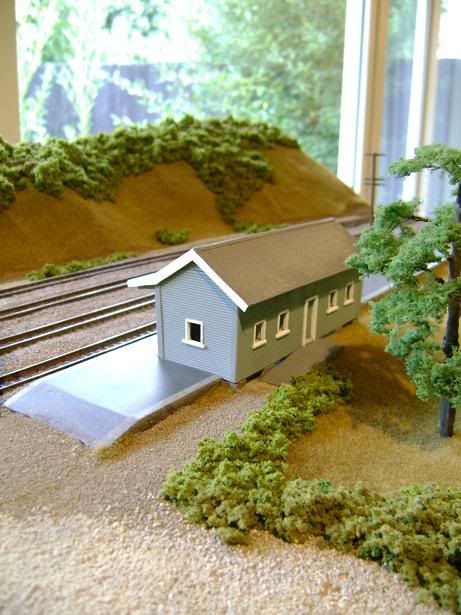
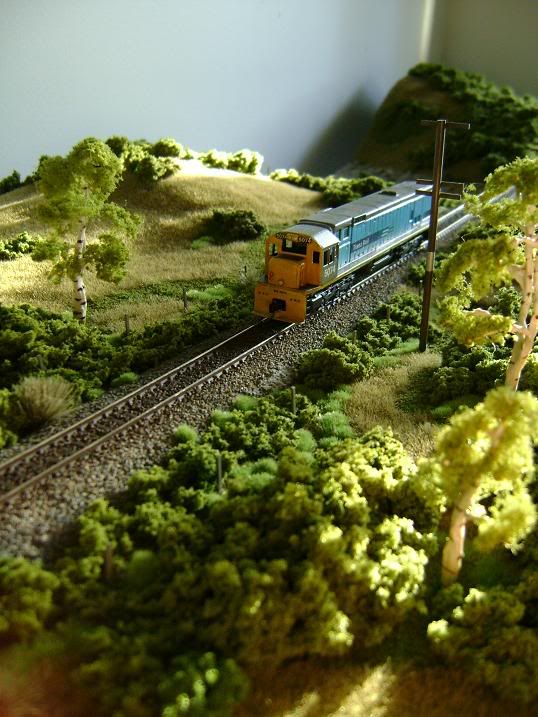
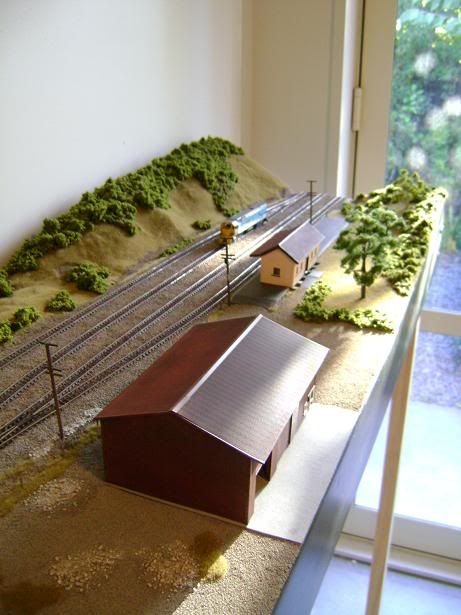
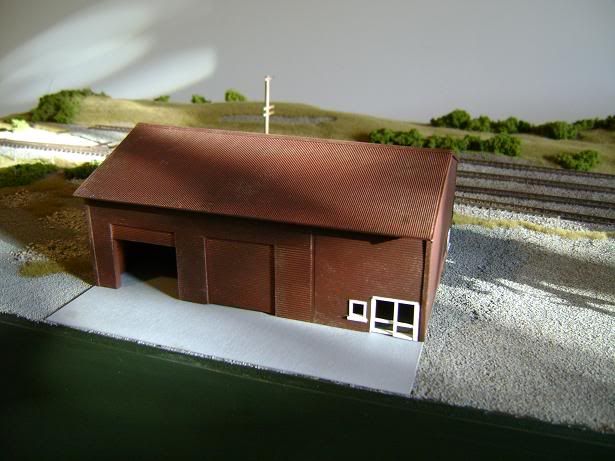
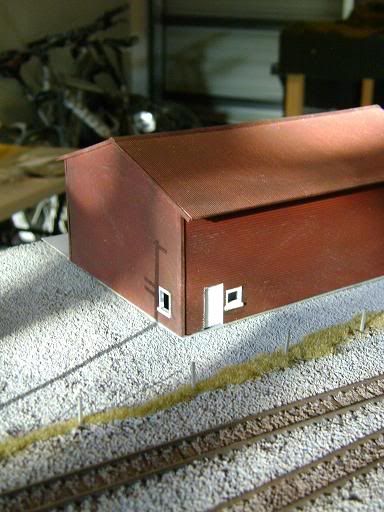
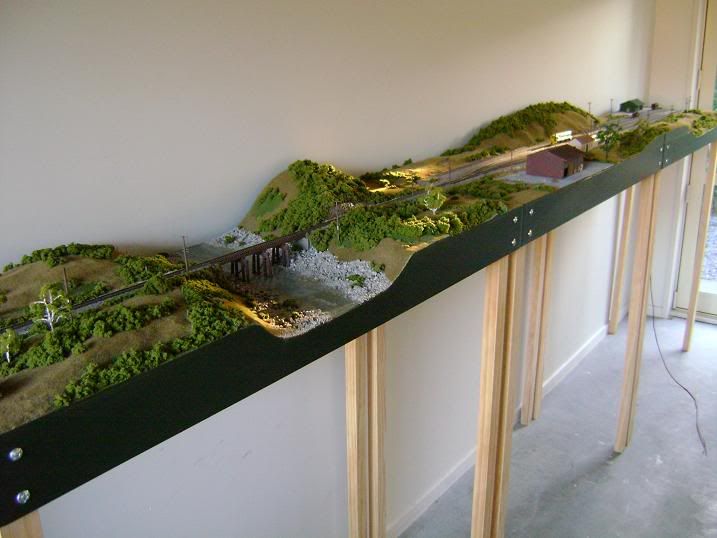
In my last full update I detailed how I had laid the track, and noted that I was happy to be done with it. Largely this was because I got to move on to my favourite aspect of modelling: the scenery.
Mostly, I think I model because I like the art and craft aspect of the modelling, especially of landscapes. I just really like how models look for some basic psychological reason. Railways provide a subject matter, and of course they have their own intrinsic interest, with the ability to build a model that actually functions and has some operational (play) interest. But I'm not really train nerd. This probably also explains my lack of ability to get motivated to build rolling stock in a way that I can get motivated to build scenery.
Anyway, onto the scenery for the modules. In my past layouts I've adopted a preferred method of scenery building, which is to build the frame out of timber, and lay over this a skin of chicken wire to which I then apply plaster gauze. This isn't either the lightest method nor the cheapest, but it gives a very solid base to the scenery, and it's desirable in a number of other ways that I will mention.
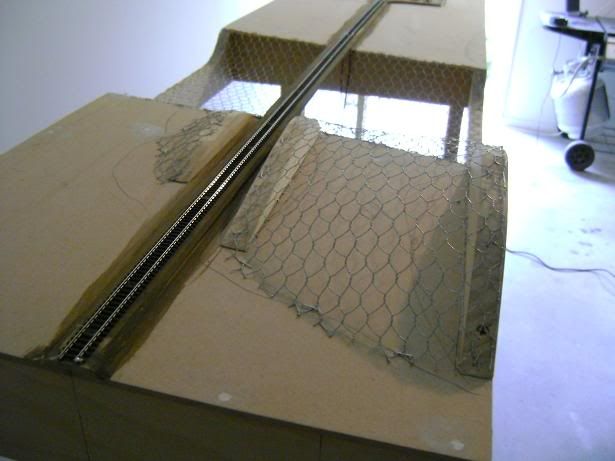
So the first step is to build the framework for the hills and so on. On the current modules the hills are fairly minimal, so this didn't take long at all. The scenery formers were cut out of the timber that was left over form building the framework, and then screwed and glued to the modules.
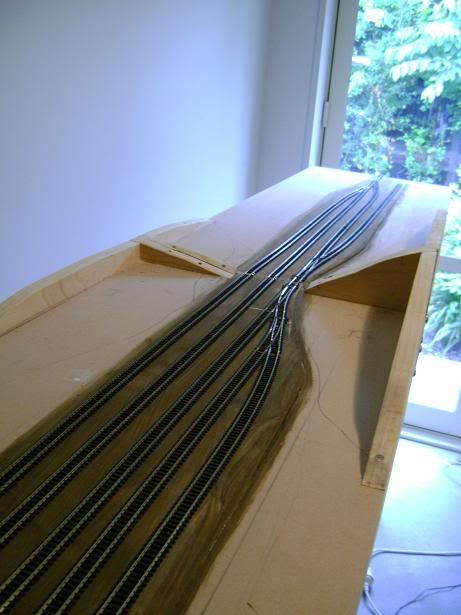
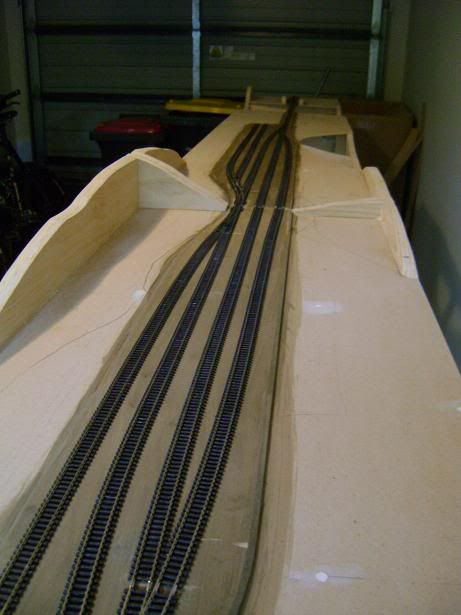
This whole process tends to add more strength to the modules (that that they really needed it) and so everything is nice and rigid (and heavier) now.
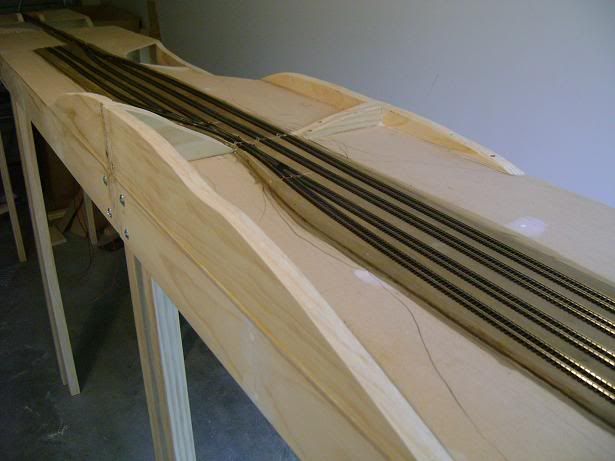
After I was happy with this, I sanded the scenery formers, and then cut the chicken wire to fit. This was then stapled down, and trimmed along the edges, taking care to remove any sharp and prominent bits of wire so as to avoid later annoyance.
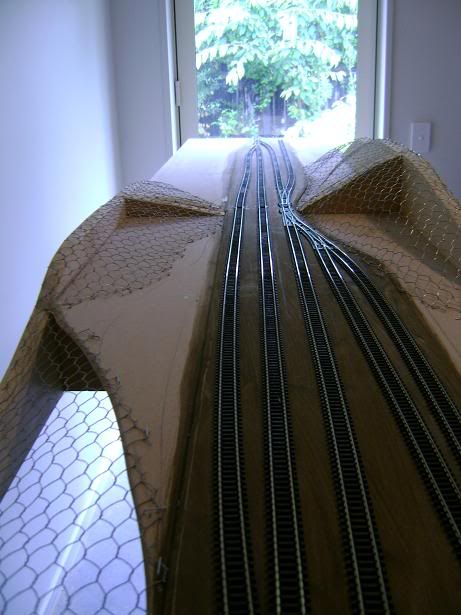
For little lumps and bumps where the method described above would be overkill, I crumple up newspaper and tape this down with masking tape so that it forms small hills and undulations.
Next is the messy (and fun) bit: applying the plaster gauze. I'm using the Woodland Scenics gauze. As you might have noticed, I use a fair bit of their range. I generally like the look of Woodland Scenics range, plus my local hobby shop stocks most of it, so it is convenient. Again though, it's not the cheapest, and I'm sure more frugal modelers could find ways to cut down on costs.
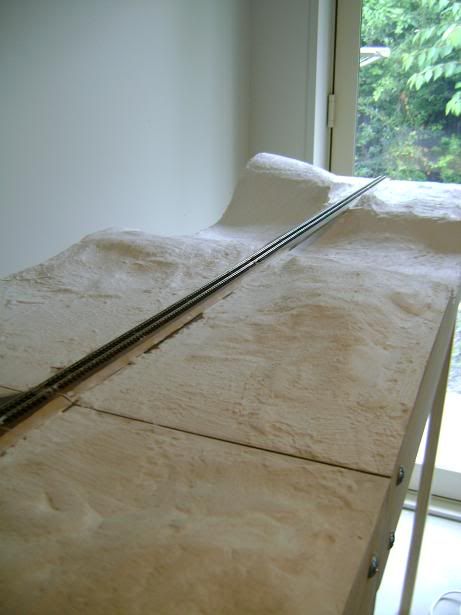
I cut the plaster gauze up into manageable sections, quickly soak kit in a bowl of water, and then apply it, using at least two layers and smoothing it out as it dries. After this, I mix up a bowl of lightweight hydrocal, which is a type of plaster that is useful for making rock molds and also for surfacing the scenery. Using a medium size house paint brush I brush on the hydrocal, which has the consistency of watery pancake batter, but which quickly hardens.
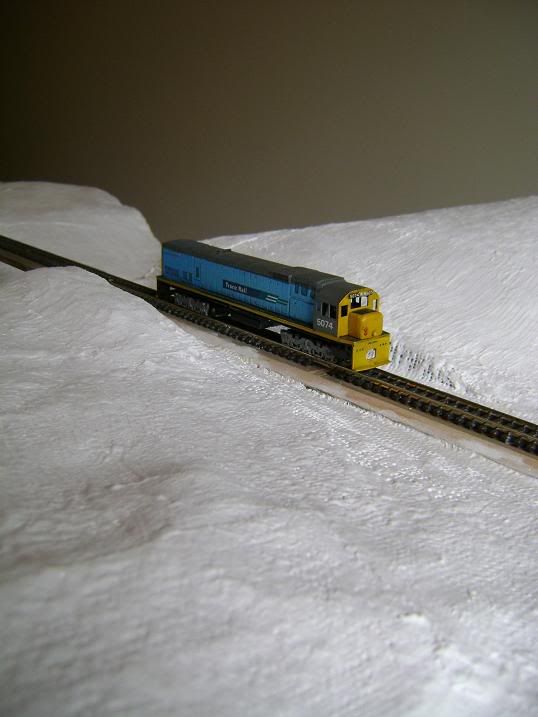
After all this dries for a day, I'm left with this:
That's all for now. In the next post I'll describe how I add grass to the surface, and how I built the rock cutting on the river module.
